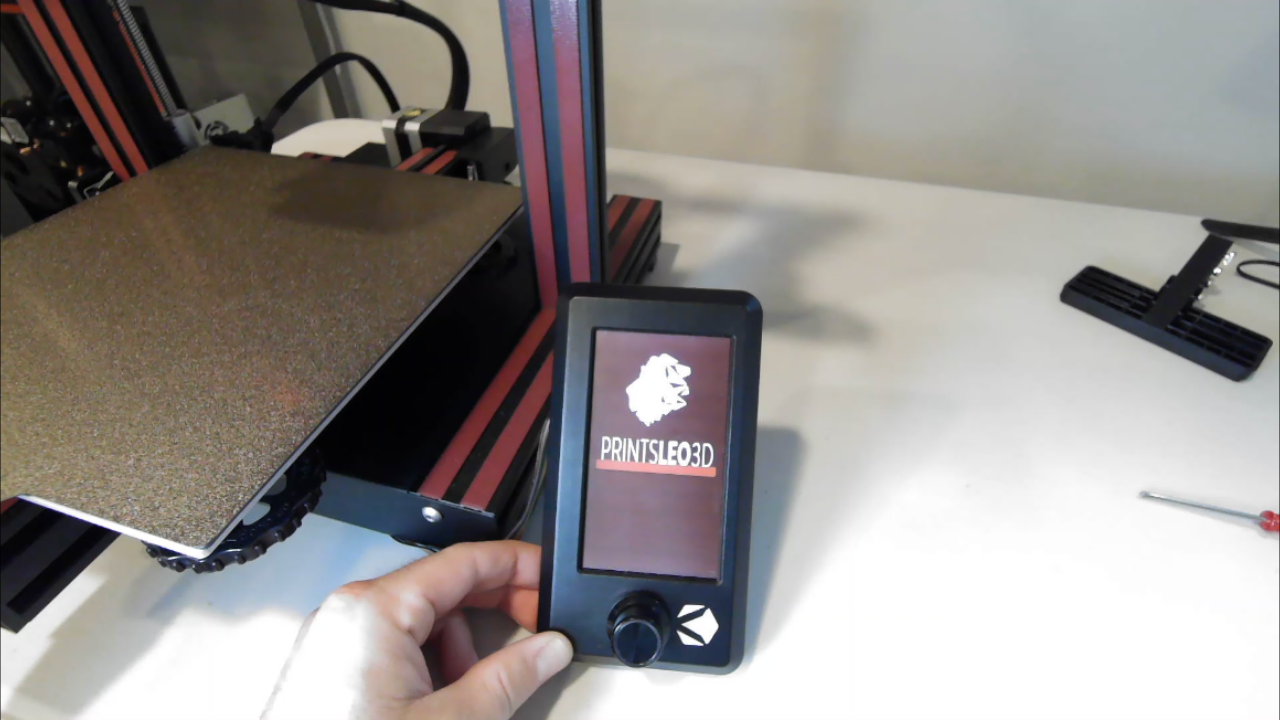
Creating a custom Start screen is a great way to personalize your Voxelab Aquila by adding some flair at a very easy cost.
This process is usually done while updating your firmware. If you aren’t familiar with that process please check out my BL Touch and firmware video for instructions.
January 22nd, 2022
During the firmware update for our Display (yes it has it’s
own firmware) we have the option of choosing icon
themes. There’s a few to choose from, all labeled
DWIN_SET(Insert Theme Name). This customization is all
going to be done through that DWIN_SET folder. From the
Marlin source code. We need to:
navigate to display firmware (1)
then Firmware Sets (2)
finally we can choose one of the DWIN_SET folders (3)
Inside the DWIN_SET folder the first three files you see all start with a numbered prefix (0_ , 1_ , 2_ ). The first file "0_start" is what we want to change (4)
You’ll need to create a start-up screen that is 480 x 272
pixels(5). This can be done by something as easy as
editing in MS PAINT3D(6). First you want to make sure your
image has been rotated 90 degrees to the left(7). The
firmware will apply the image with the left side being the
top of the screen, and the right side as the bottom, so you
need to rotate your image according to that. Next simply
change the canvas size to 480x272 and have the program
scale your picture with the canvas - be sure ‘lock aspect
ratio’ and ‘resize image with canvas‘ are selected
before scaling(8) - When locking the aspect ratio your
image may not be exactly 480x272 pixels once scaled. This
is fine as long as the pixel size is at or under those
numbers. You can also choose to uncheck ‘lock aspect
ratio’ to get an exact 480x272 pixels but your image may
look distorted. Once it's been rotated and scaled save the
image somewhere on your computer as "0_start". It needs
to be named exactly as the first file in the DWIN_SET
folder. After you've saved your custom image, go into the
DWIN_SET folder and delete the original "0_start" image
(might be a smart idea to copy that image and store it
somewhere on your computer just in case), after you've
deleted "0_start" image it's time to move yours into the
folder(9). Just copy it from it's current location and paste
it into the DWIN_SET folder and viola! you're done! Just
finish updating your screen firmware as normal.


