April 4th, 2022
A lot of new 3D printers are coming equipped with an extruder stepper motor that has a pressed-on gear. They are identifiable by the lack of grub screws set within the gear, which normally tighten to hold it in place. These pressed-on gears have been fastened on with a large amount of pressure, which keeps the in place.
This becomes an issue when you want to upgrade to a BMG style extruder, or just want to replace the existing gear, as the pressed on gear is unable to be removed by any normal means.
User Jake_Of_All_Trades has uploaded a free model to Thingiverse.com! The only additional equipment needed is an M5 Screw (55mm length) and an M5 nut!
Using the Gear Extractor is pretty straightforward:
Place the M5 nut within the Gear Extractor. There is a divot sized for the nut
Thread the screw through the top of the Gear Extractor and into the nut.
Place the channel of the gear extractor underneath the gear, wrapped around the stepper motor axle
Begin tightening (or screwing in) the M5 screw until the bottom of the screw contacts the Stepper Motor axle.
Continue tightening the screw until the bottom of the Gear Extractor grabs the stuck on gear.
Grip the stepper motor and the Gear Extractor tightly with one and(as it will want to move), and begin tightening the screw which will lift the gear up and off the axle.
M5 nut inserted within the Gear Extractor
While the Gear Extractor is gripping the gear begin to tighten the screw, which pulls on the pressed on gear
Threading the screw through the M5 nut
Be sure to grasp the stepper motor and Gear Extractor tightly.
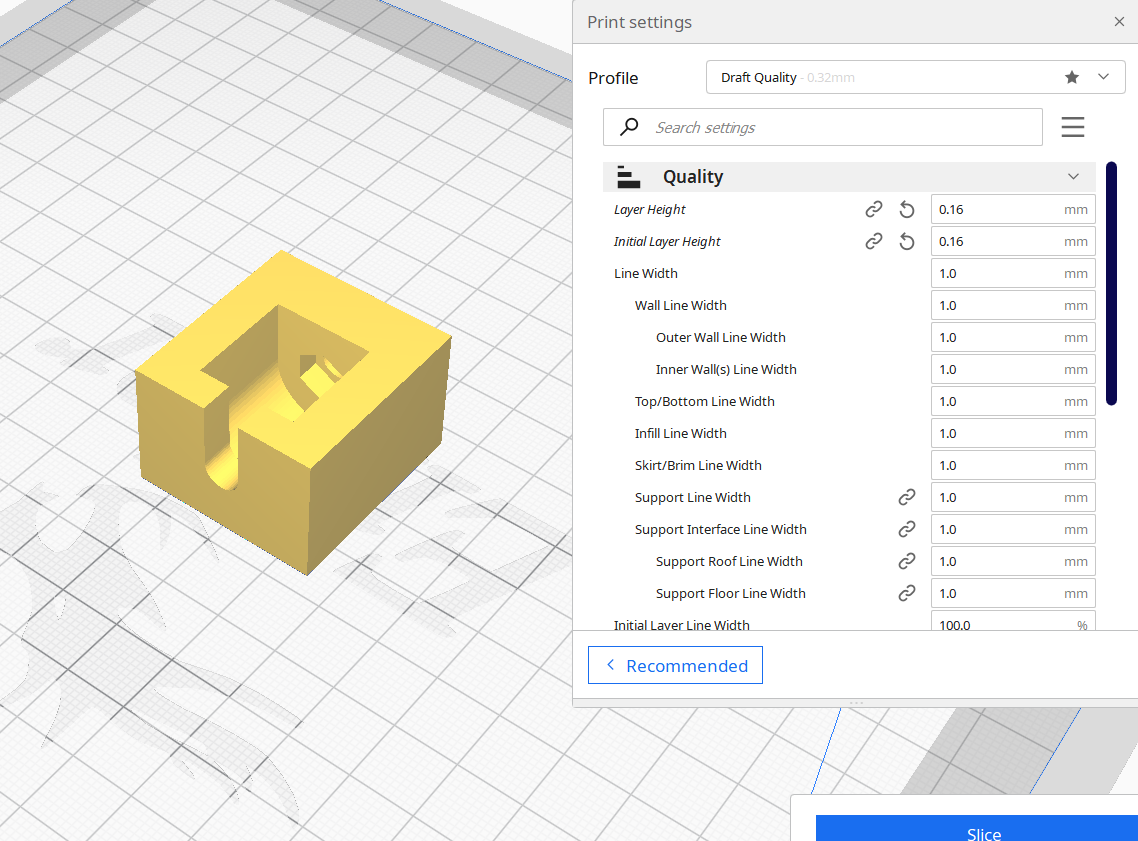
I printed mine with a 1.0mm nozzle at 0.16mm layer height. However if printing this with a standard 0.4mm nozzle and a layer height of 0.2 I would recommend 4 walls/perimeters and 20% infill. Whatever combination of nozzle and layer height you settle on just keep in mind additional walls is what provides strength to our models, so adjust them accordingly.
Happy Printing!
As an Amazon Associate, I earn a small commission from links shared on this site, at no cost to you.
PS. If this doesn’t work for you, or if the stepper motor is damaged in any way, you can always find a replacement on Amazon and they generally won’t break the bank!


