“If you had to get the best printing experience at the lowest cost how would you do it?”
I get this question - or a variation of it - asked a decent amount, so I wanted to dedicate a page to it. This is all subject to change as price/availability/new products constantly fluctuate, but most of the core concepts should be maintained (i.e. the upgrades I make and how I make them). My main tenets were
Low cost
Highest throughout
Most consistency
Budget Printer High Performance!
*As an Amazon Associate, I earn a small commission from links shared on this site, at no cost to you. If you like or appreciate what I do, this is an excellent way to help support at no cost to you!
Base Printer:
I would choose to start with either an Ender 3 Pro or a Voxelab Aquila or Aquila X2 (not the C2). You can find the Enders on sale at Microcenter for $100 which is easily the best deal on the market. If you need to buy online, or if the Ender is not on sale, then I’d go with the Aquila over the Ender 3 Pro. The standard price for an Aquila or X2 is around $180, however they will go on sale quite often and you can grab one for $160. The X2 has more features, but they are not worth the extra money, however for some reason, currently, they seem to be cheaper.
*The base Voxelab Aquila has been discontinued, so while you still might be able to purchase them as of this date, going forward the X2 will be the only option.
Printer:
Ender 3 Pro - $100
Voxelab Aquila - $180 (if pricing for these printers are similar I would choose the Aquila/X2
Upgrades:
Both of these printers require the same base upgrades.
Upgrades:
Cold end extruder - $17
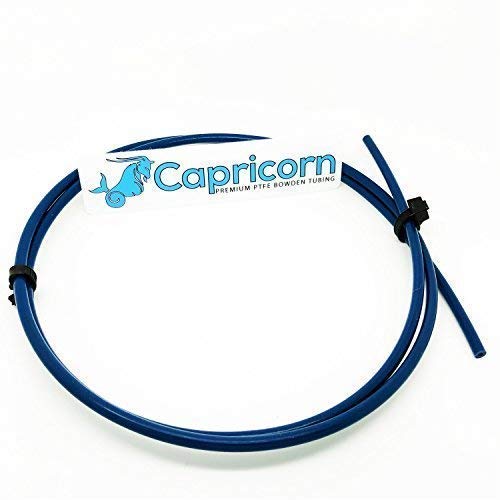
Bowden tube - $12
Bed springs - $8
Firmware:
I want quality prints at the best throughput so I want to upgrade my firmware to Klipper which means I need to buy an additional microcontroller.
Klipper:
Software - FREE
Inovato Quadra(microcontroller) - $40
USB cable- $5
Consistency:
Consistency is key to a low failure rate, so while I can use a MANUAL MESH to get the same results, I think the benefit of an auto bed level far exceeds the added cost(less work, more stable). The same principle applies to the bed surface. On the Aquila the stock glass is great but I prefer PEI’s adhesion and easy print removal over the long term. With the Ender 3 Pro this is a necessity not a preference.
Consistency:
BL touch clone - $17
Pei sheet - $28
Hot End:
The last piece of equipment I would add, and I think the one that could be argued is preferred but not crucial, is an All Metal hotend. Besides the possible ‘ill-effects’ the stock hot end can produce, their design also leaves something to be desired. If I am going cheapest possible I would upgrade just the heatbreak and not the entire hot end. You can save about half the cost if you choose to just replace the heatbreak.
Hotend:
Gulf Coast Robotics All metal hot end - $30
Final Results:
In my opinion either of these printers set up in this manner, with proper calibration, should be able to outrun most other commercial printers at this price range. Obviously this is my opinion, and others, based on their experiences, may differ. This is based on my time with these and other printers, my time with and without upgrades, and the journey I have taken with them.
Ender 3 - $257
Aquila - $337
(calculate at Aquila cost of 180)
Are you interested in getting here? Check out my YouTube channel for videos that go over most of these processes.


